Prep it once on Sunday, eat well all week. This simple baked chicken breast is free from all top 9 allergens and endlessly versatile — slice it for school lunch sandwiches, cube it for chicken salad, shred it for tacos, or pair it with rice and veggies for a quick weeknight dinner. One safe, healthy protein, a week’s worth of meals.
PREP TIME
8 minutes
TOTAL TIME
50 minutes
YIELD
4 chicken breasts
Why We Started Making This
Like so many allergy families, our weekly routine was built around a handful of trusted products. We manage dairy, peanut, tree nut, mustard, and sesame allergies, and for a long time one particular lunch meat brand was our go-to for easy sandwiches. Then the company expanded their product line and that brand became a cross-contamination risk for peanuts, dairy, and mustard. Just like that, our go-to was gone.
This baked chicken breast recipe was born out of necessity because we needed a new safe protein for school lunches. We started making it each week to use with our homemade mayo for chicken sandwiches, and over time it became one of the most-used staples in our kitchen. Now we prep a batch at the start of every week and use it in more ways than we ever expected.
Why You’ll Love This Recipe
- Free from mustard, gluten, and all the top 9 allergens: dairy, egg, soy, peanut, tree nut, wheat, fish, shellfish, and sesame
- Takes less than 10 minutes of hands-on prep
- Works as a base for so many meals — prep once, eat multiple ways all week
- Simple, whole-food ingredients with no hidden allergens
- Easy school lunch protein
How to Use Your Meal Prep Chicken
One batch of this plain baked chicken breast can become:
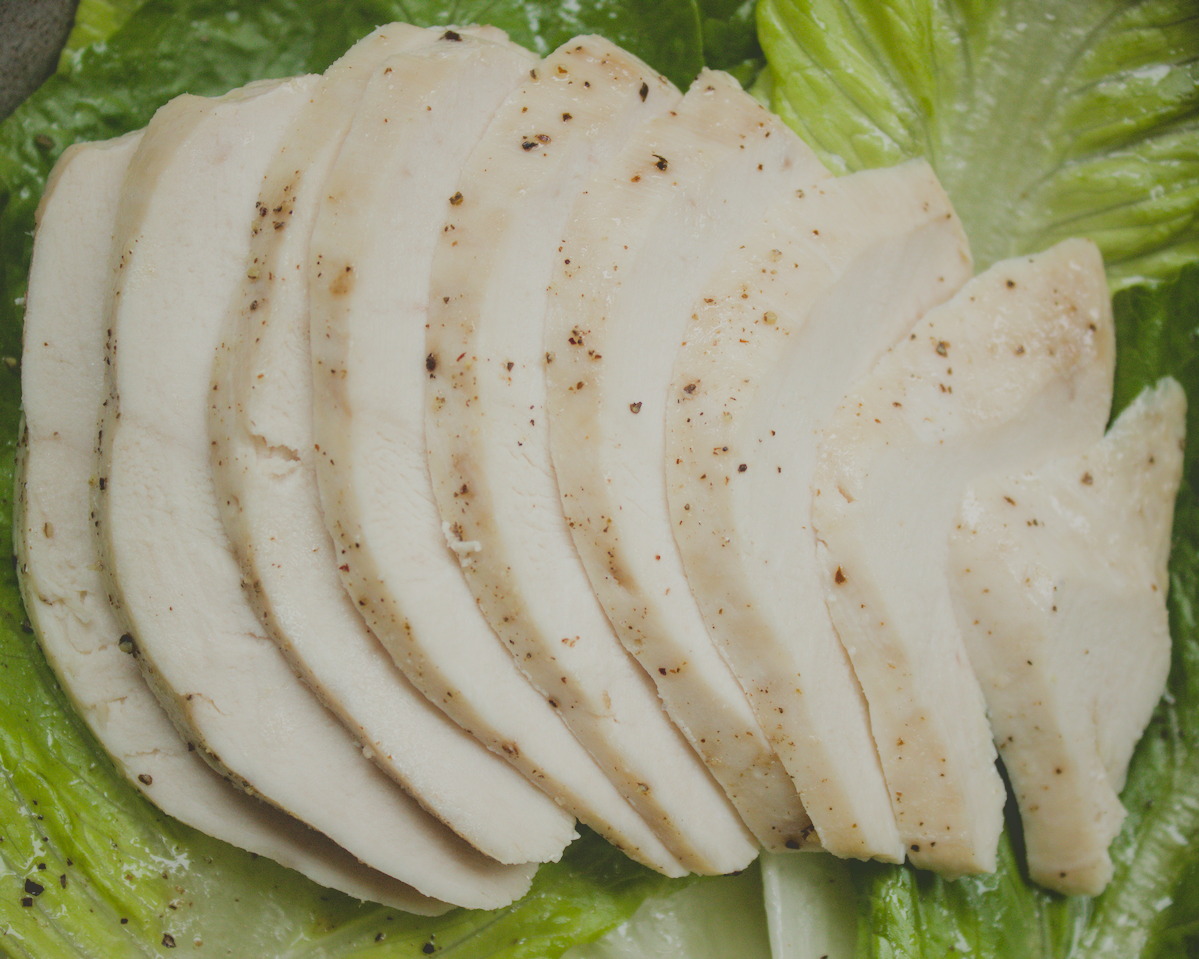
- Chicken sandwiches for school lunches – slice thin and serve with allergen-free bread, romaine lettuce, and homemade mayo
- Chicken salad – cube and mix with mayo, celery, and your favorite add-ins
- Chicken tacos – shred and serve with your favorite toppings
- Chicken fried rice – dice and marinate in a gluten-free soy sauce or coconut aminos, then fry with cooked rice and vegetables
- Simple weeknight dinner – pair with rice and roasted vegetables and top with gluten free teriyaki sauce
Ingredient Notes
This recipe intentionally keeps ingredients simple and minimal. No marinades, no spice blends with hidden allergens. When buying chicken I always check the label to make sure there are no additives or flavoring.
I buy 100% California olive oil. We have tree nut allergies in our family and international olive oil is often a blend from many countries and carries the possibility of contamination with other oils such as almond and hazelnut.
Storage & Meal Prep Tips
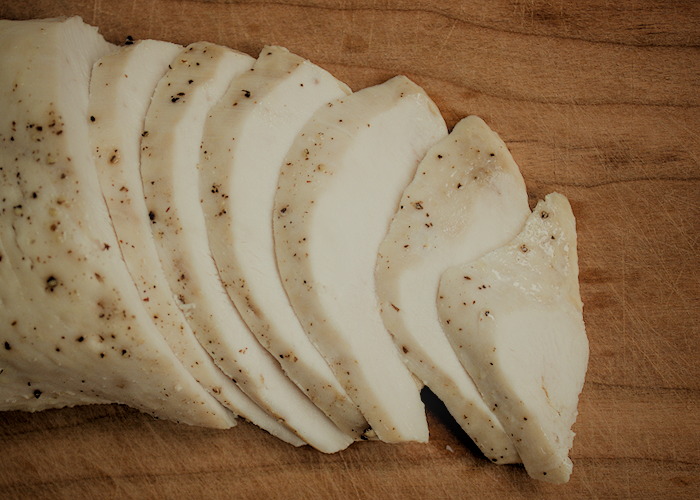
Store cooked chicken in an airtight container in the refrigerator for up to 4 days. It helps to slice or dice before storing so it’s ready to grab and use throughout the week. I often freeze half the batch right away for use later in the week.
To freeze: let the chicken cool completely, then store in a freezer-safe container or zip bag for up to 3 months. Thaw overnight in the refrigerator before using.
Frequently Asked Questions
Yes! Bone-in thighs will take longer (about 45-50 minutes). Boneless thighs cook faster, closer to 30-35 minutes. Always check for an internal temperature of 165°F.
Absolutely — this recipe is intentionally plain so the chicken is versatile for multiple uses. If you want more flavor, just make sure any spice blends or sauces you use are certified free from your family’s allergens. We recommend checking labels carefully, as many spice blends contain hidden wheat, soy, dairy, or mustard.
A meat thermometer is your best friend here. Insert it into the thickest part of the breast — you’re looking for 165°F. Don’t skip the resting step, as it helps the juices redistribute and keeps the chicken moist.
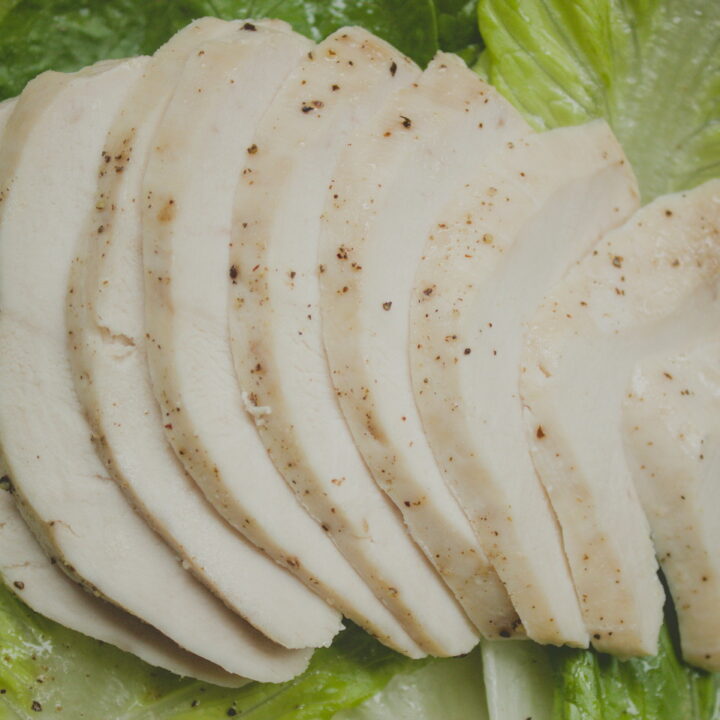
Meal Prep Chicken Breast (Gluten Free, Top 9 Allergen Free)
With just 4 ingredients and less than 10 minutes of hands-on prep, it's the ultimate safe protein for allergy families. Use it for school lunches, chicken salad, weeknight dinners, and everything in between.
Ingredients
- 4 chicken breasts
- 3 tsp olive oil
- Salt and fresh ground black pepper to taste
Instructions
- Preheat your oven to 400°F
- Brush 1 tsp of olive oil onto the bottom of a baking dish
- Using kitchen scissors, trim any excess fat from the chicken breasts, place them in the baking dish and pat dry with a paper towel
- Brush the remaining olive oil over the top of the chicken
- Season with salt and fresh ground black pepper to taste
- Bake for 40-45 minutes, until the internal temperature reaches 165°F on a meat thermometer
- Remove from the oven, cover the dish loosely with foil, and let rest for 5 minutes before slicing
Notes
Chicken size matters. Larger or thicker breasts may need an extra 5 minutes. Always check for an internal temperature of 165°F rather than relying on time alone.
Pat dry before oiling. Drying the chicken first helps the olive oil and seasoning adhere better.
Check your labels. Some store-packaged chicken breasts contain added ingredients. Look for chicken with no added ingredients. Always check every ingredient label every time to confirm allergen safety.
Storage. Store in an airtight container in the refrigerator for up to 4 days. Freeze half the batch right away if you plan to use it later in the week.
Scaling. This recipe makes 4 breasts. Double it easily if you have a large enough baking dish or use two dishes side by side. Oven temp and time stay the same.
Related Posts
Dairy Free Mayonnaise
Dairy Free Coleslaw
Dairy Free Tzatziki Sauce