Classic pumpkin pie taste and texture, without the gluten or dairy. This recipe uses a packaged gluten free pie crust to keep prep simple, and it is also free from peanuts, tree nuts, sesame, and mustard.
PREP TIME
20 minutes
TOTAL TIME
80 minutes
YIELD
One 9 inch pie
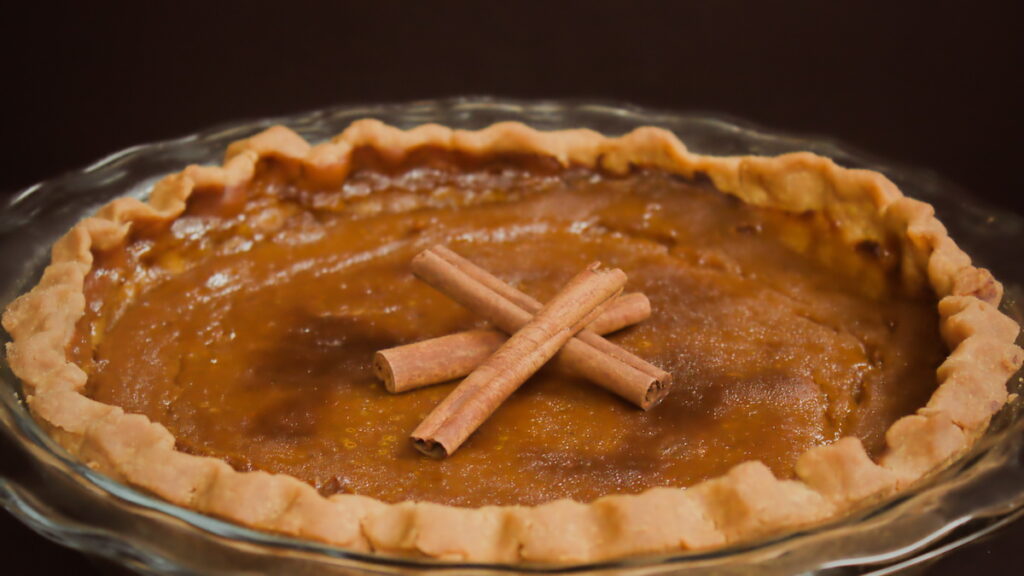
Pumpkin pie may bring Fall to mind, but thanks to a situation I think many allergy parents can relate to, I made this one on a sunny morning in mid-March. March 14th (3.14) is Pi Day, and my son’s elementary school was celebrating with a school-wide competition to see who had memorized the most digits of Pi. Parents were invited to bring pies to share.
I generally work with my son’s teacher to keep celebrations food-free when possible, but this was a school-wide event, and I pick my battles when it comes to advocating against food at school activities. After thinking through how the event would be set up, the timing (end of day), and how my son was feeling about it, I felt confident he would not eat any of the provided pie and that his safety would not be at risk by the presence of the pies or that fact that others would be eating them.
So I made him his own pie. He requested pumpkin.
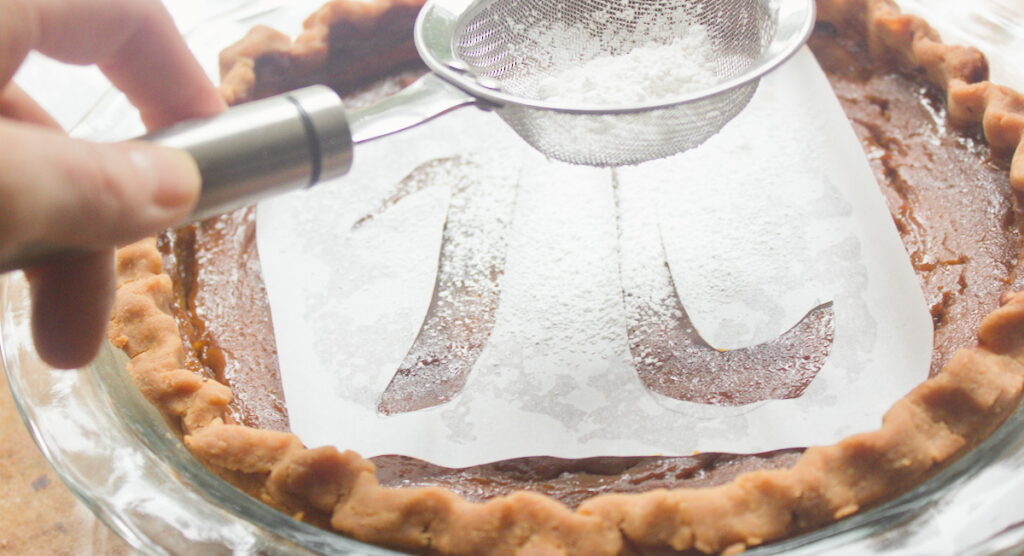
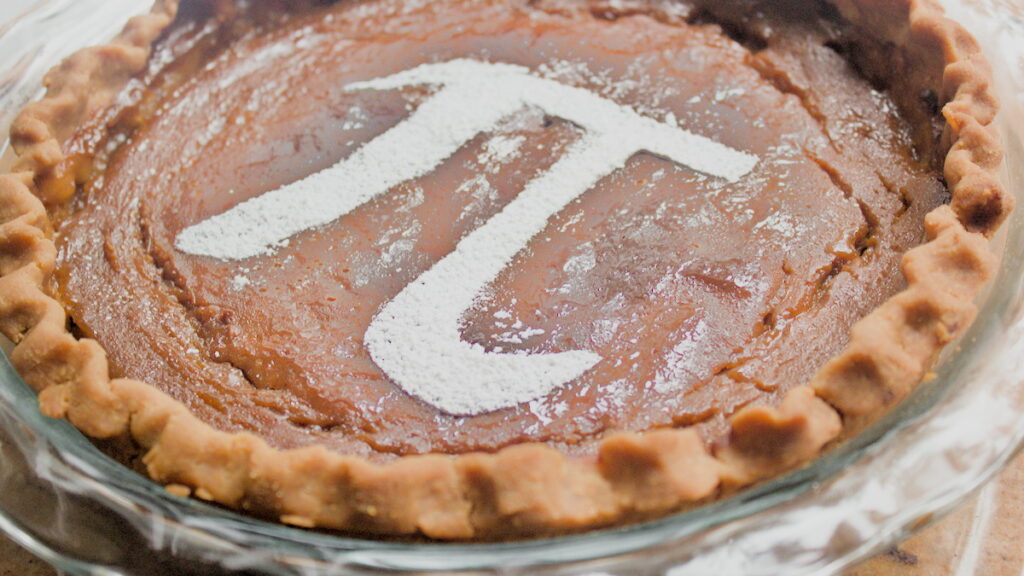
My original plan was to bring it to him during the event. I would have cut and individually packaged his slice first, before the pie was ever set out near other pies with unknown ingredients, to eliminate any risk of cross-contact. As it turned out, I had an appointment I couldn’t move, so we talked through a few options together and he chose to enjoy his pie at home after school.
How I Make This Pie Gluten Free
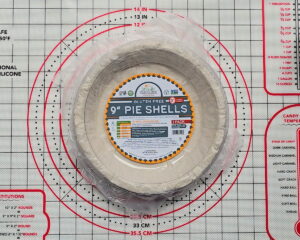
The Wholly Gluten Free Pie Crust is the real key here, and it is one of my all-time favorite gluten free finds. What sets it apart is not just the taste but the texture. If you have been baking gluten free for any amount of time, you know the disappointment of a crust that crumbles or turns rock hard. This one comes out great every time, and having something premade is a significant time saver. You will find it in the freezer section, sometimes with other gluten free products and sometimes near the conventional pie crusts depending on the store.
How I Make This Pie Dairy Free
If you are baking dairy free, you need to know about Nature’s Charm. Their products are some of my favorite dairy free baking substitutes and I use both their coconut sweetened condensed milk and coconut evaporated milk in this recipe. Both have a neutral flavor, so the finished pie does not taste like coconut. Nature’s Charm also makes oat-based versions of both, but if you have the choice, the coconut varieties tend to be thicker and produce a better texture in the filling.
One Crust, Two Options
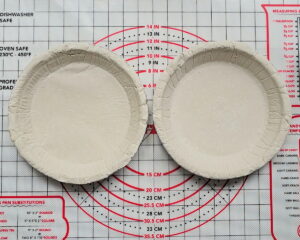
The Wholly Gluten Free Pie Crust comes in a two-pack with two medium shells in disposable tins. This recipe makes exactly enough filling for both shells, so you can bake two smaller pies. That is the fastest approach and what I do most of the time. However, you can also combine both shells, roll the crust out, and use it to fill a standard 9-inch pie pan if you want one larger, more traditional-looking pie. I will walk through both methods below.
Using the Disposable Shells
Remove from the freezer and place both shells on a rimmed baking sheet. You do not need to fully defrost them before adding the filling.
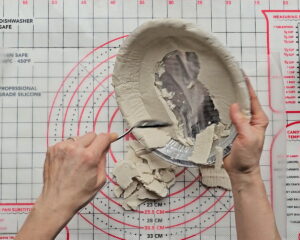
Using Your Own Pie Pan
- Let the crust sit at room temperature for about 20 minutes before you begin. You are looking for the sweet spot where it is cold but not frozen. Too cold and it crumbles; too warm and it gets sticky.
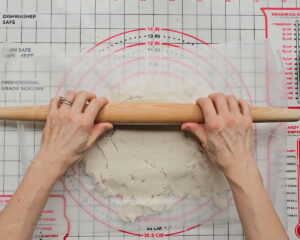
- Scoop the contents of both tins onto a sheet of wax paper. Cover with a second sheet of wax paper and use a rolling pin to smooth and shape the crust to the size of your pie pan. Use the edges of the bottom wax paper to fold in any crumbly or uneven edges as you go.
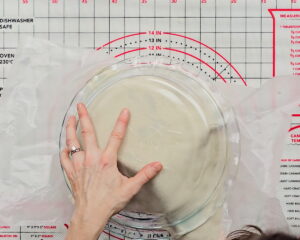
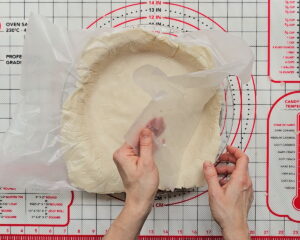
- To transfer, remove the top sheet of wax paper and place your pie pan upside down on top of the crust. Slide one hand under the bottom wax paper and use the other hand to support the top as you flip the whole thing over into the pan.
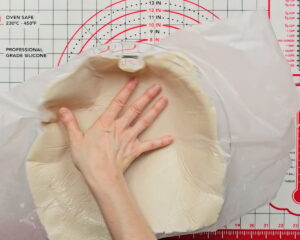
- After flipping press the bottom of the crust firmly into the pan before removing the remaining wax paper.
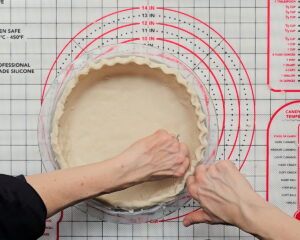
- Remove top sheet of wax paper. Don’t stress about any small cracks or tears. Just patch and smooth them with your fingers.
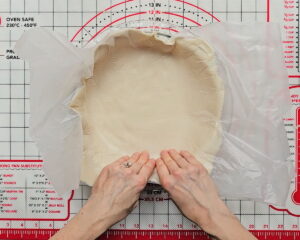
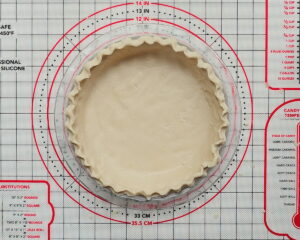
- Shape and smooth the edges of the crust.
A Note on Pumpkin
Use plain pumpkin puree for this recipe, not pumpkin pie filling. Pumpkin pie filling already contains sweeteners and spices, which will throw off the balance of the recipe. Plain puree typically has one ingredient: pumpkin. You will usually find it in the baking aisle, right next to the pumpkin pie filling, so just double-check the label before you grab it.
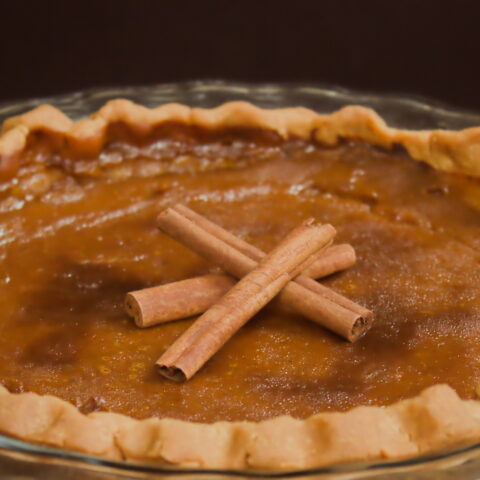
Gluten Free Dairy Free Pumpkin Pie
A classic pumpkin pie made gluten free with a store bought crust and dairy free with coconut milk. All the taste and texture you expect, with no gluten, dairy, peanuts, tree nuts, sesame, or mustard.
Ingredients
- 1 (15 oz) can plain pumpkin puree
- 2 eggs
- 1 (11.25 oz) can Nature's Charm dairy free coconut sweetened condensed milk
- 1 cup Nature's Charm dairy free coconut evaporated milk
- 1 tsp cinnamon
- 1/2 tsp ground ginger
- 1/2 tsp ground cloves
- 1/2 tsp salt
- 1/4 tsp nutmeg
- 1 package Wholly Gluten Free Pie Crust (2 shells), used as packaged or combined into one 9-inch pie pan
Instructions
- Preheat your oven to 425°F.
- Prepare your crust. If using the disposable shells, place both on a rimmed baking sheet. If using your own pan, follow the rolling method described above.
- Whisk the cinnamon, ginger, cloves, salt, and nutmeg together in a small bowl and set aside.
- Crack the eggs into a large bowl and beat well with a whisk.
- Stir in the coconut evaporated milk and coconut sweetened condensed milk.
- Add the spice mixture and stir to combine.
- Stir in the pumpkin puree until fully incorporated.
- Pour the filling into your prepared crust. If using the disposable shells, divide the filling evenly between both.
- Carefully transfer to the oven. If using the disposable shells, keep them on the rimmed baking sheet to catch any drips.
- Bake at 425°F for 15 minutes, then reduce the heat to 350°F and bake for an additional 40 to 55 minutes, until the center is just set with only a slight jiggle.
- Cool completely on a wire rack before serving. This pie is best after a few hours in the refrigerator, and even better the next day.
Notes
Crust: The Wholly Gluten Free Pie Crust comes in a two-pack. This recipe makes enough filling for both shells, so you can bake two smaller pies in the disposable tins instead of one larger pie. See the post above for instructions on rolling the crust out into a standard pie pan.
Make ahead and storage: This pie is best after a few hours in the refrigerator and even better the next day, making it a great option to prep ahead for holidays or events. Store covered in the refrigerator for up to 4 days.
Allergens: Always check ingredient labels before use. Ingredients and manufacturing facilities can change, so it is important to verify that every ingredient is safe for your specific allergies each time you make this recipe.
Coconut substitution: Nature's Charm also makes oat-based versions of both the sweetened condensed milk and evaporated milk. They will work in this recipe, but the coconut varieties tend to produce a thicker, better texture in the filling.
Doneness: The bake time range is wide because ovens vary. The pie is done when the edges are firm and set with only a slight jiggle in the very center, similar to a cheesecake. When in doubt, err on the side of a little more time rather than less.